I had so much fun using the 'Liquify' tool in Photoshop to create my 'art' assignment picture; I wanted to share how I did it.
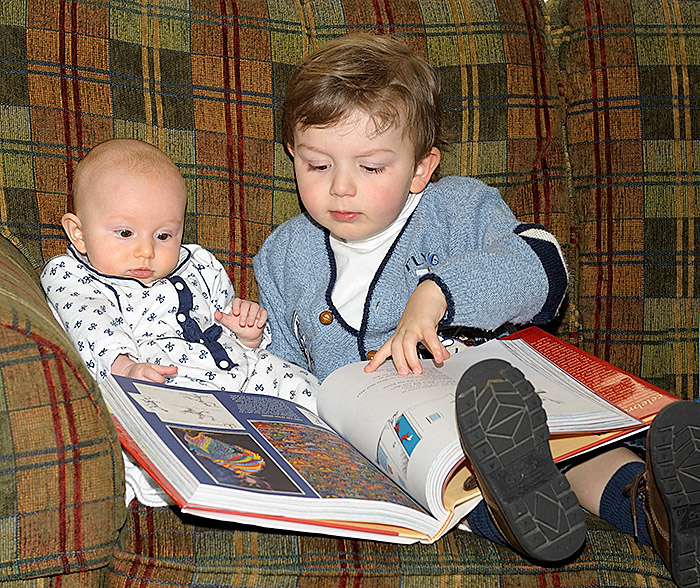
Keith had captured this picture for me of Evan reading McKenzie his big Dr. Seuss book and they happened to be on a very art - colorful page. I loved the picture, but I thought the couch behind them was too distracting.
Here is the original picture--
So, I copied the layer and put in a layer mask and tried bringing only the children through and choosing colors from the work of art on the book page to basically color in the background and get rid of the couch all together.
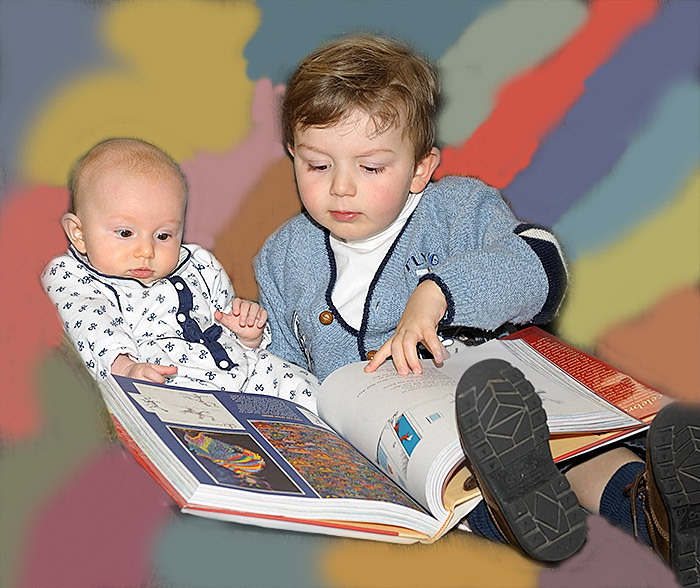
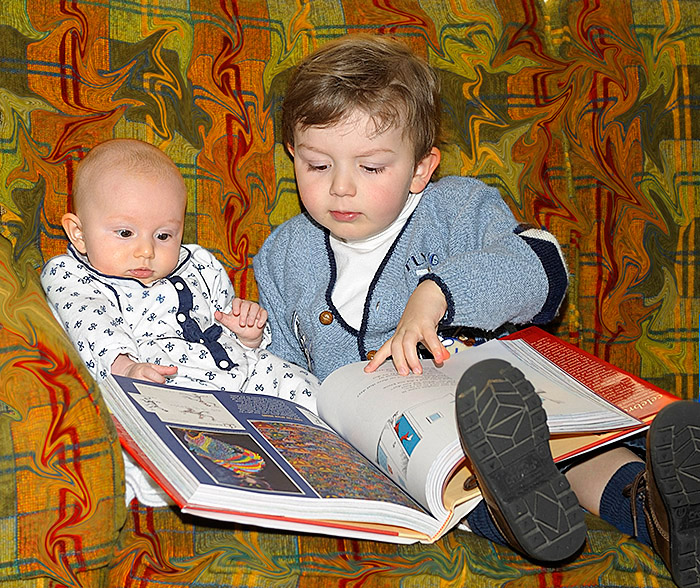
I had gotten this far when Keith walked in and said 'try this!' --- He super saturated my bottom layer to get the couch to match the intensity of the art in the book and then pulled up the 'liquify' tool. It is under the 'filter' menu in Photoshop3. Fun tool - try playing with it. You just set the cursor wherever you want and click and drag it and it pulls the lines in the picture all over - creating such fun effects. Keith did this to my background layer and super saturated the kids too, so we had to go back in history and delete all he did. I then copied the background layer first and did the same process and drug my layer mask down from my first attempt layer (shown above). This allowed the kids to show through the picture with normal saturation. Actually, I bumped up their saturation just a little bit as the couch was so over the top that it tricked your eye into seeing the kids as desaturated.
Here's the final product :-)