The topic title of "Leading Light" is a play on the concept of "leading lines." When I first started to describe the concept of "leading light," I intended to build upon an earlier assignment using "leading lines;" however, to my surprise, we've never had a specific topic for "leading lines" even though I have mentioned the concept in several other assignments. To put it simply, a "leading line" is a strong line in your image that guides your viewer into and through the image, both inviting the viewer into the scene and providing depth to the image. Like a winding road or river meandering through the scene, or a strong diagonal that leads into the primary subject. The point is that a leading line is used to draw viewers through and deep into an image. "Leading light" is a more subtle way of doing the same thing, and is quite often used in conjunction with leading lines. The key behind this concept is that our eyes are always drawn to the brightest parts of and image. Drawing the viewer into the scene and towards the lighter part of an image can be a very effective technique for engaging the viewer.
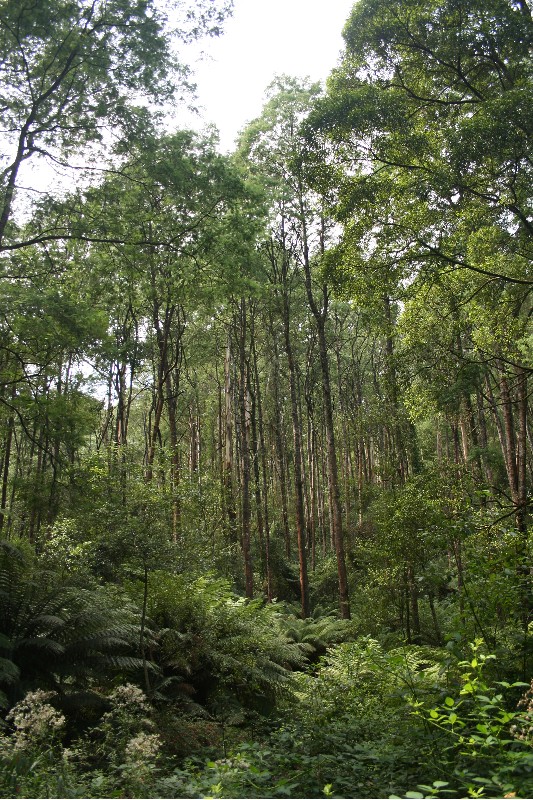
It was Tanya's comment on my
Forest Path image that actually suggested this topic to me. Tanya commented that "The light at the back draws you in." When I first came upon this scene, there
was light at the end of the path that drew you in; however, it was dusk and the light was fading fast. By the time I had the tripod set up and my scene composed, the light was much duller. (You can tell how low the light levels really were if you notice the four second shutter speed on this image.) I regained some of the effect of the light "drawing you in" through subtle post processing techniques. First I processed my image normally in my raw processor (Nikon Capture NX2) and opened that image in Photoshop. Then I adjusted the exposure by +1/3 of a stop in my raw processor, opened that version of the image in Photoshop, and copied it onto the original as a new layer. I then used a mask to "hide all" of the lighter layer, and erased through the mask with a soft edged brush to reveal a slightly lighter path and "light" at the end of the path. The effect was very subtle, but it was enough to enhance the viewer's sense of being "drawn in" to the image. Here's the original image:
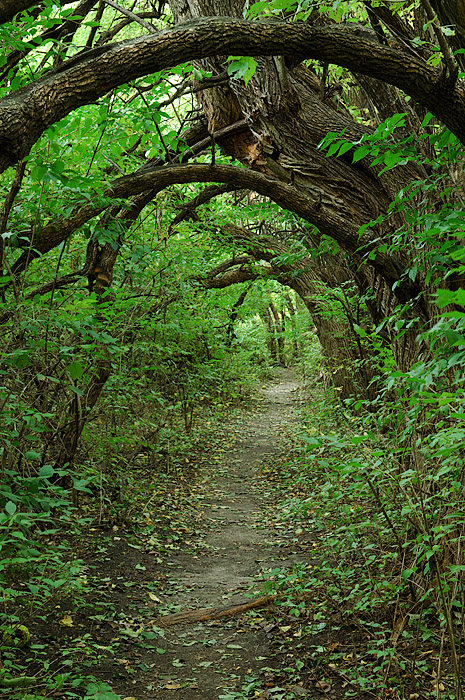 Forest Path
 (original)
And here is the modified image, with the path very slightly lightened:
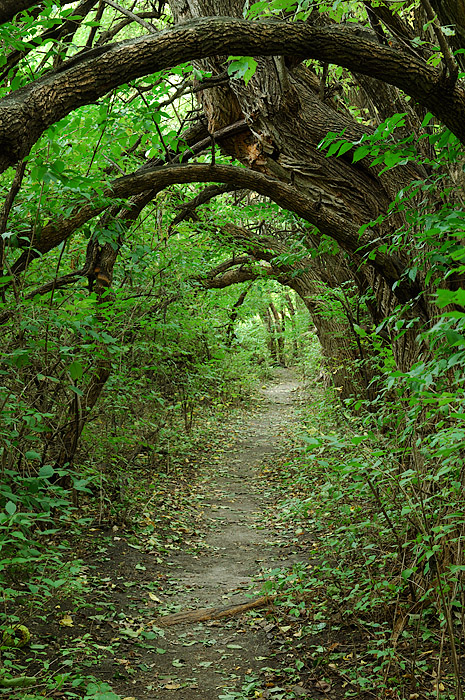 Forest Path
 (path lightened in the raw file and applied with layers and masks)
The effect is almost too subtle to notice unless you closely compare the original with the modified image. This modification hearkens back to the days of darkroom, when photographers that were experienced with that part of the craft would use dodging and burning to emphasize certain areas of their print and deemphasize others. Note that this image uses both the "leading line" of the path and "leading light" to draw the viewer into the image.
I wanted to illustrate how effective light can be at drawing the viewers attention by using Joyce Donaldson's Last Rays image as an example. Here is her original, which uses linear perspective to great effect to give the image depth.
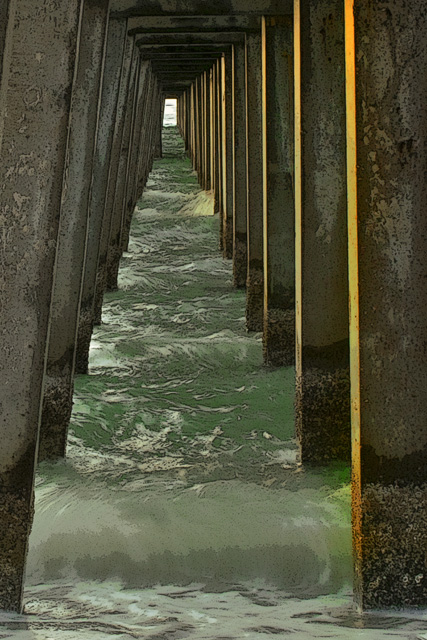
Last Rays
Photographed by Joyce Donaldson
Here is a modified version of that same image where I have "cloned out" the block of light. Notice how your eye is no longer drawn to the end of the pier like it was in the previous image.
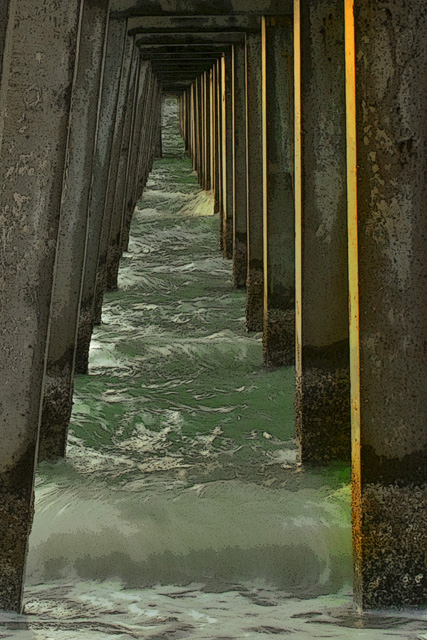 Last Rays
Photographed by Joyce Donaldson (modified for example purposes by Keith)
I wanted to use this next image as another example of subtle post processing techniques to provide emphasis to specific areas in a scene, by enhancing the light. I liked the light on the original image, but felt the image would be stronger if the light was slightly brighter on the far mesa (the "island in the sky").
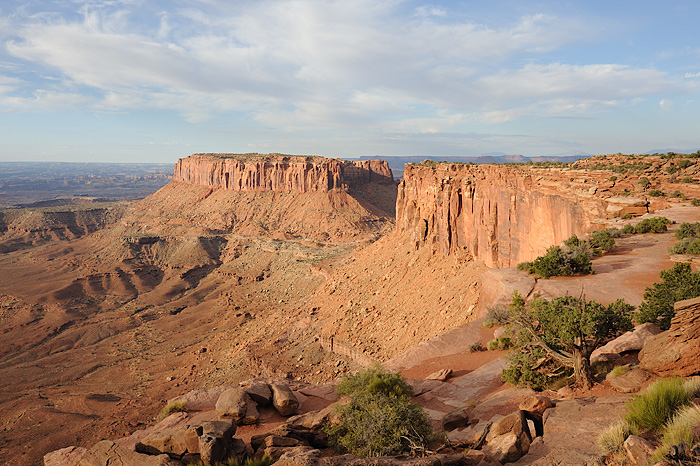 Island in the Sky, Canyonlands National Park
In this subtly modified version I've used a "control point" in Capture NX2 to slightly increase the brightness and contrast on the far mesa. (I could have done this with layers and masks in Photoshop, but the control point in NX was a faster way to do the same thing.) This subtle change puts more emphasis on the far mesa and pulls the viewer further into the scene.
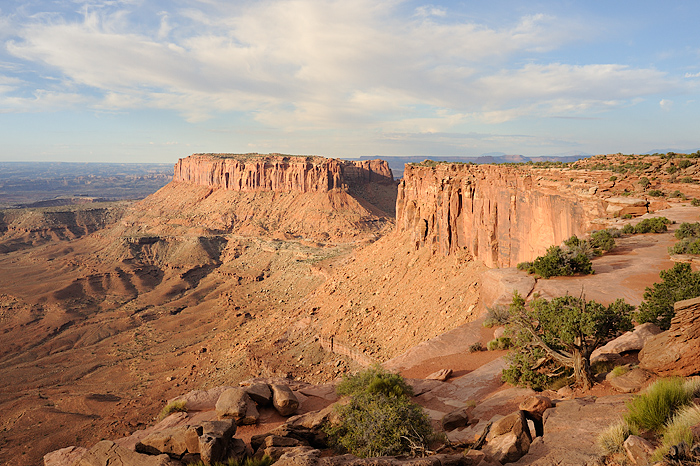 Island in the Sky, Canyonlands National Park
 ("light" added to far mesa)
Another great example of "leading light" by Cindy Miller Hopkins:
Photographed by Cindy Miller Hopkins
This next set of images illustrates Naomi's great sense of light. The first image of the set uses leading lines and the beautiful forest light to draw the viewer into and through the scene.
 The Forest
Photographed by Naomi
It is only after viewing the original image below that you become fully aware of Naomi's astute sense of light. By cropping out the distracting sky and emphasizing the light on the ferns, Naomi created a beautiful gem out of this very "rough" original.
 The Forest
Photographed by Naomi (unprocessed original)
And a few more "leading light" examples from our files. Rebecca's evocative image of the door of our hotel in El Fuerte, Mexico:
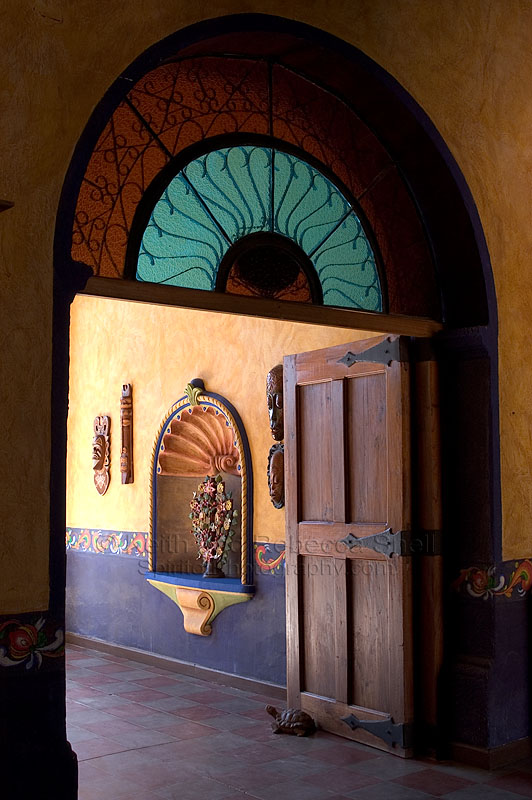 El Fuerte
Photographed by Rebecca
And my
Road Through Fall Aspen taken outside of the ghost town of Ascroft, Colorado.
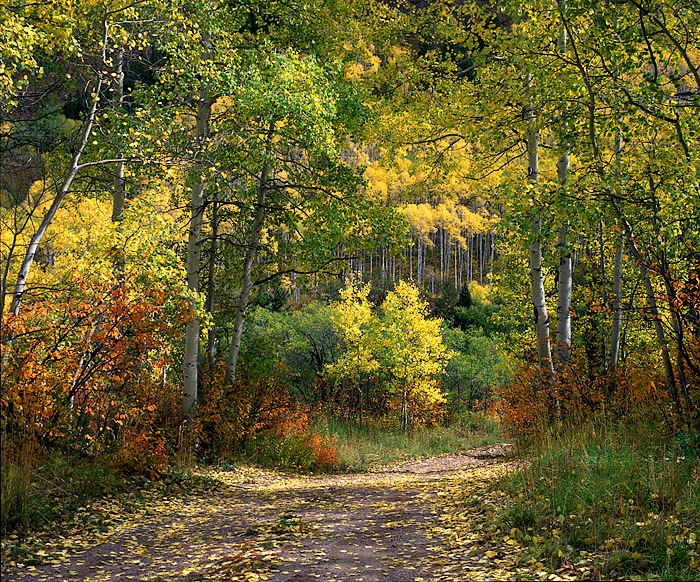 Road Through Fall Aspen
(Scanned from an old 4x5 transparency)
The assignment for the week of 5 - 11 October is "leading light." You should strive to compose an image using "light" to draw the viewer into and through your scene. Please upload your images to the "Leading Light" album in the Weekly Assignment category of the gallery no-later-than midnight Mountain Time (GMT - 07:00) on Sunday, 11 October 2009.
I'll look forward to seeing your images.
Keith


