Thank you to everyone that submitted images for the "Seeing Red" Weekly Photography Assignment. This was another assignment where it was very difficult to chose a "favorite."
I really liked the beautiful
Officinalis 'Plena' image submitted by Lars.
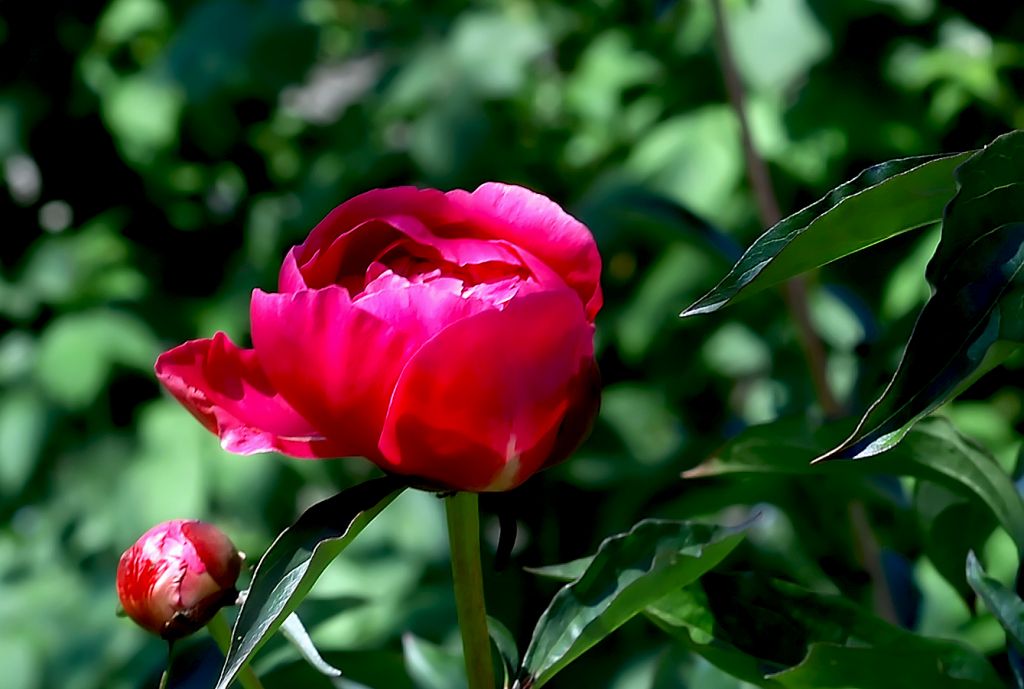
Officinalis 'Plena'
Photographed by Lars
The rendition of the flower in this image was very beautiful. I was distracted a bit by the "chunky" look of some of the background, and wanted to see what this image might have looked like with the background blurred a bit more. I used the "lens blur" function in Photoshop, in conjunction with a new layer and layer mask which allowed me to apply a blur to the background, but leave the foreground portion of the image untouched. This resulted in the image rendition shown below. When taking an image like this, I often take the image with several different aperture settings, which allows me to choose the most pleasing combination of foreground and background when I am editing the images. If I am unable to find an aperture setting that will provide a pleasing rendition for both the foreground and background, I will sometimes combine the foreground from one image with the background taken with a larger aperture. This is easily done by bringing both images into Photoshop as layers, using the align layers function, and then a layer mask to select the portions of each layer you want to be visible in the final composite. The image below uses a simple "lens blur" function in Photoshop to simulate the background rendition one can obtain by using a larger aperture. This "softens" the background a bit, and helps focus the viewers attention on the beautiful flower in the foreground.
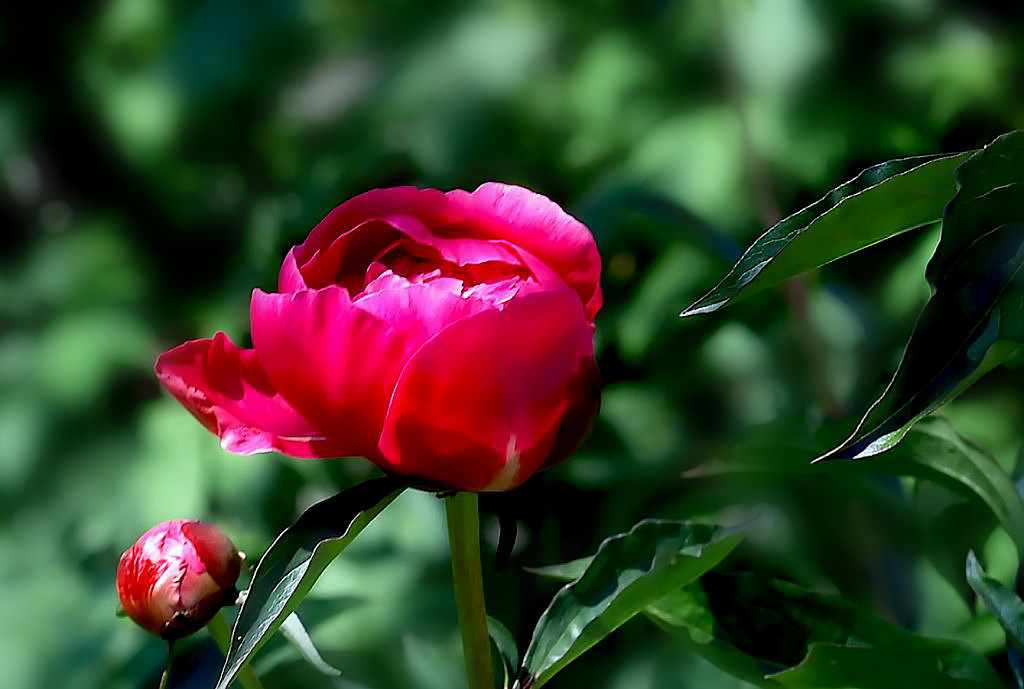
Officinalis 'Plena'
Photographed by Lars
Lens Blur added by Keith
I also tried this technique with Rick's
Fire Hydrant image, but was unable to effectively blur the background without making the image look unnatural. Rick produced a great image of the fire hydrant, but again I felt the background was too distracting. I would have tried this image with a larger aperture in order to deemphasize the background and focus the viewer's attention on the primary subject.
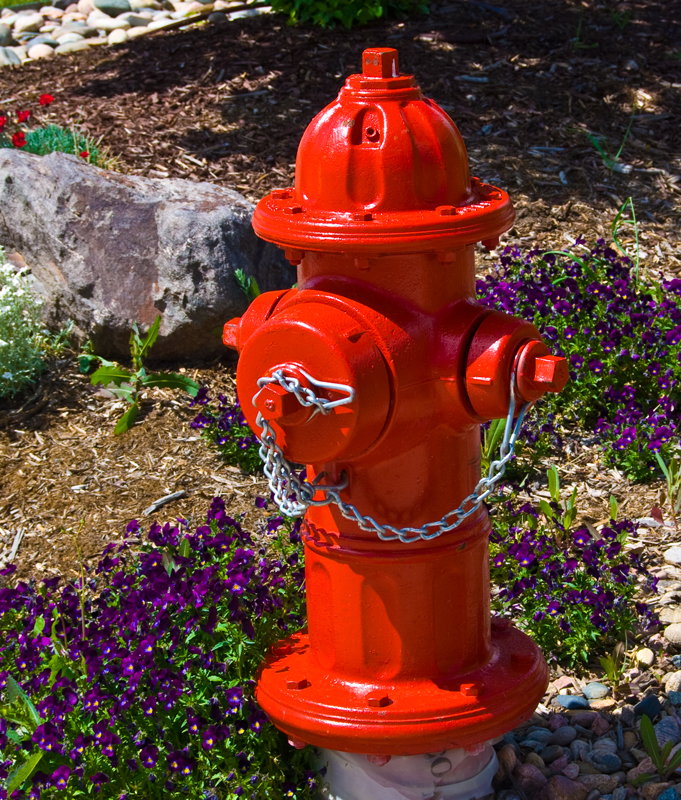
Fire Hydrant
Photographed by Rick
Because I couldn't get a natural looking transition between "in focus" and "out of focus" for Rick's Fire Hydrant image, I decided to try another technique to deemphasize the background. Using Layers and a mask in Photoshop, I desaturated and lowered the contrast in the background, reducing the emphasis of the elements that were competing with the subject for the viewer's attention.

Fire Hydrant
Photographed by Rick
Background modified by Keith
The image which captivated me most was Joyce's
Illusion Arches image, which tied with Rick's
Fire Hydrant image for
People's Choice. I was impressed with Joyce's ability to "see" this image, and to compose it such that it conveys the same "illusion" to the viewer. Very well done! I've awarded this image
Editor's Choice for Technical Merit.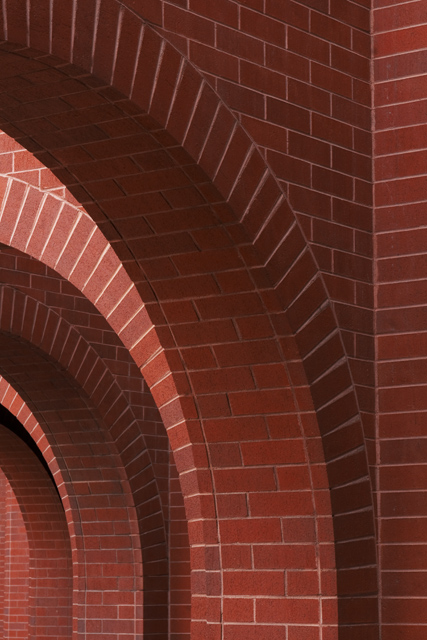
Illusion Arches
I've awarded
Editor's Choice for Artistic Merit to Naomi's beautifully composed
Bridal Red image. Naomi arranged the complementary elements in this image into a pleasing composition that reinforced the subject without distracting. This was another very well done image "created" by Naomi.

Bridal Red
Thank you again to everyone that particpated in the "Seeing Red" assignment. Viewer comments and replies to this thread are encouraged.
Keith


