Rebecca photographed an outdoor portrait session for a friend and her daughter today, and I assisted with lighting and equipment. I think her friend would be too self-conscious to let us post images of her, but I thought some of you might be interested in seeing the setup, and test exposures with Evan and McKenzie.
Here's the scene:
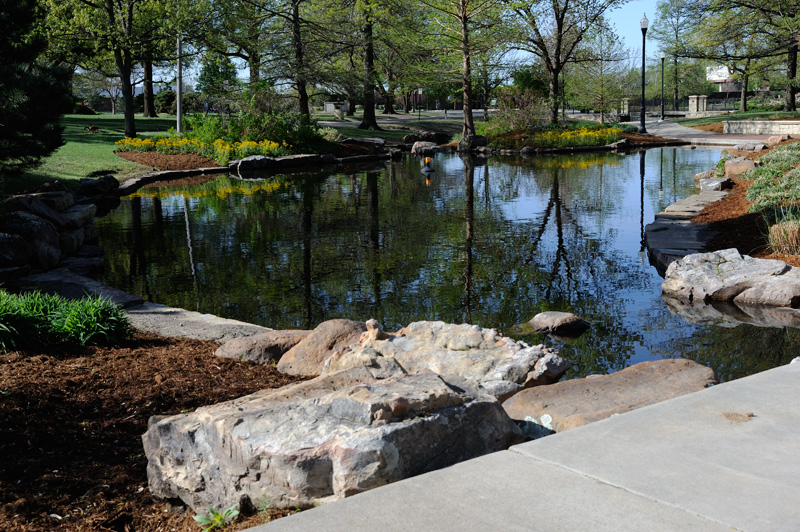
Eastborough Park, a nice little city park close to our house.
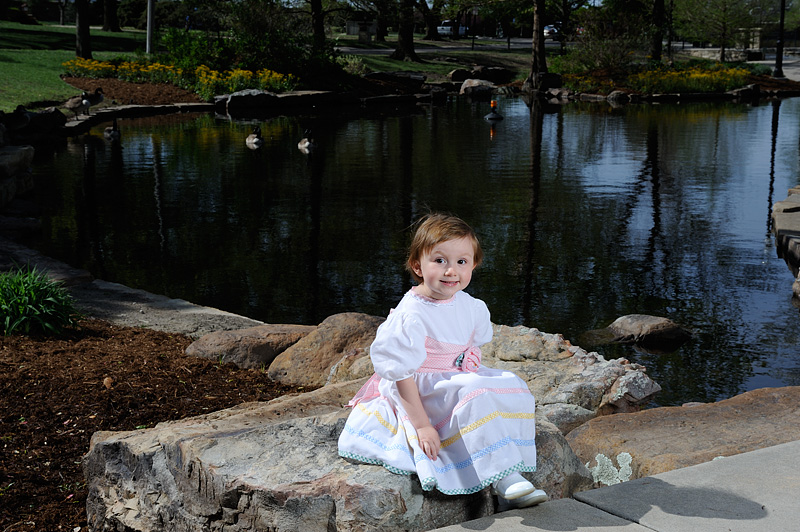
Now let's put one of our test models into the scene:
Yikes, McKenzie's dress is blowing out, and her face is in the shadows.
Let's adjust the exposure to try to save the highlights:
OK, we saved the highlights, but obviously that isn't the answer, since both the background and McKenzie's face are underexposed. We could try to bring those up in post processing; however, that has a tendency to make the colors and tonal transitions "flat" and unflattering and looks too unnatural.
Obviously the scene has too much contrast. To make it work, we will need to reduce the overall contrast of the scene by either brightening the shadows, or attenuating the highlights, or both. We'll start by setting our ambient exposure for a decent background exposure, and then using flash to open up the shadows. (If it was just one person in the portraits, we could probably use a reflector, but my reflectors aren't really big enough to provide coverage for two people.) Here's the flash setup we'll be using:
Einstein 640ws studio flash powered by a Vagabond mini battery and bounced into a Photek 51" soft silver umbrella
(That's my flash equipment bag hanging from the light stand. It was fairly windy, and I needed the extra weight to keep the stand from blowing over. That's also why I used the 51" umbrella instead of my more efficient 64" parabolic umbrella. I was afraid the extra surface area of the 64" would be too much of a "sail" in the wind.)
Here's the shot with the Einstein studio strobe. Rebecca's exposure settings are ISO 160 (the D3 base ISO is 200, but you can set "low" ISO at -0.3, -0.7 and -1 EV), f16 and a shutter speed of 1/200. This is one third of a stop
less than a "sunny sixteen" exposure, so in theory this should be a good starting point.
Almost there! However we still have problems with both the highlights and the background exposure. McKenzie's dress is still blowing out in the direct sunlight, and the background is still a bit dark. We need to increase the exposure for the background, but if we do, we will make the blown highlights on McKenzie's dress even worse. So now that we've tried filling in the shadows to control the contrast, we need to attack the problem from the other end and try to attenuate the highlights. There isn't any appropriate "open shade" nearby that will give us the background we want, so instead I hold up a 1-stop Wescott diffusion panel to soften the direct sunlight and reduce its intensity by approximately 1 stop, This reduces the brightness of the sunshine on McKenzie's dress enough to control the highlights, and it also enables Rebecca to increase her ambient exposure to get the background rendition she wants. Here's the result:
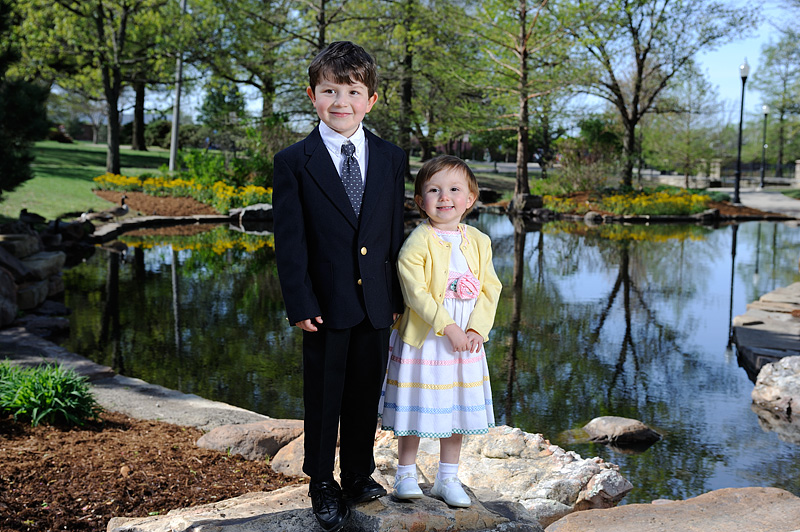
The image above is "straight from the camera" with no post processing required. Just the way we like them! We've finished our setup just in time for our friend's arrival. Thanks Evan and McKenzie for being great test models again.

If any of you have any questions on our setup, please feel free to ask.
Keith


